How to Perfect a Chocolate Ganache Drip: Step-by-Step Guide for Stunning Cake Designs

Rustic Wedding Cake Ideas for a Countryside Vibe
Rustic wedding cakes offer a charming, earthy touch to any countryside wedding. With natural textures, simple decorations, and a cozy aesthetic, rustic cakes are a perfect fit for a countryside ve...
Read more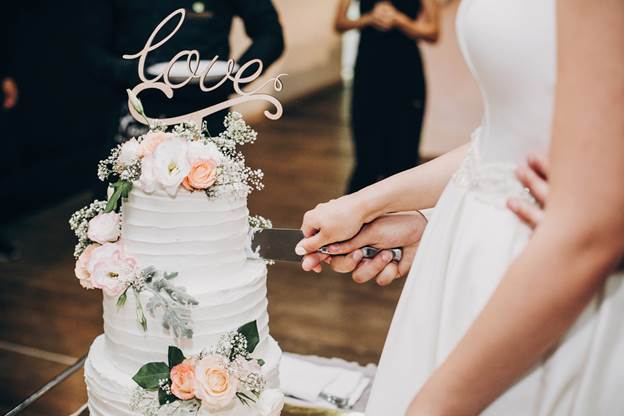
Floral Wedding Cakes: Elegant Ideas for Every Season
Floral wedding cakes bring a natural touch to any wedding, combining elegance and beauty. Whether you prefer subtle or bold designs, flowers make your cake stand out. Best floral cake designs for...
Read more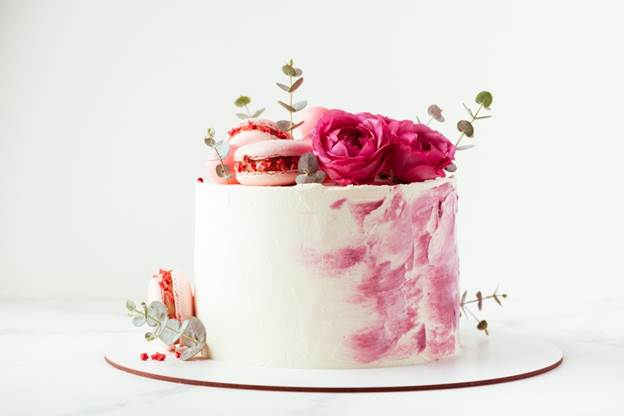
Charming Small Wedding Cake Ideas for Intimate Ceremonies
Small wedding cakes are the perfect choice for couples hosting intimate ceremonies. With a growing trend toward personalization and simplicity, these cakes bring a touch of elegance without overw...
Read more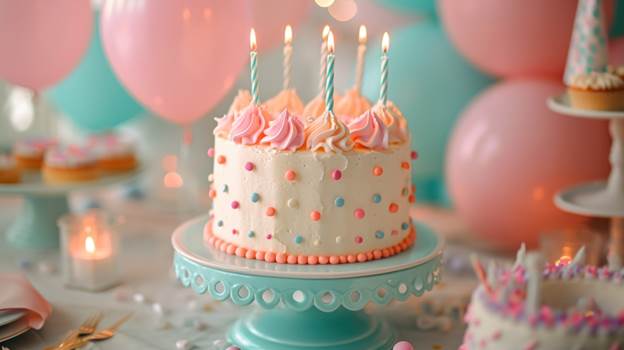
Birthday Cake Decoration Tips for a Stunning Celebration
Birthday Cake Decoration Tips Introduction: Cake decoration is crucial in turning a simple dessert into the centerpiece of a birthday celebration. It’s not just about flavor—how the cake looks ...
Read more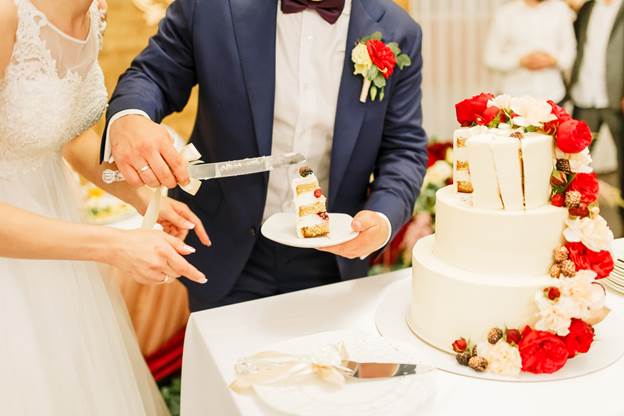
Top Stunning Wedding Cake Design Ideas to Try
Wedding cakes are more than just a sweet treat; they are a central piece of your wedding celebration. Whether you're envisioning a traditional multi-tiered cake or something with a modern twist, ...
Read more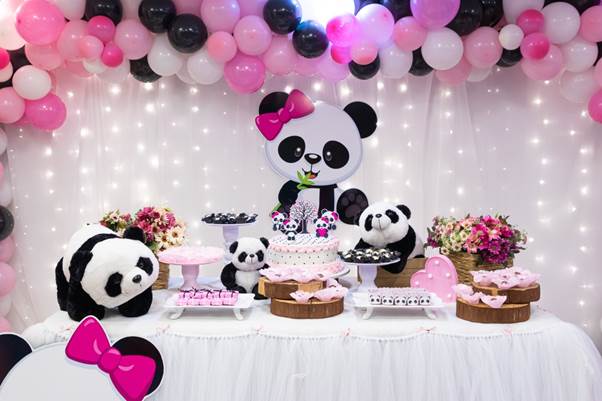
Creative Themed Birthday Cakes Ideas for Every Personality
Creative Themed Birthday Cakes Idea Introduction: Why Themed Cakes Make the Perfect Birthday Treat When it comes to celebrating a birthday, a themed cake adds an extra layer of excitement and p...
Read more
Milestone Birthday Cakes to Make the Day Extra Special
Milestone birthdays are more than just another year of life; they mark significant chapters in a person's journey. Whether it’s the big 18, the epic 21st, or the classic 50th birthday cakes, these...
Read more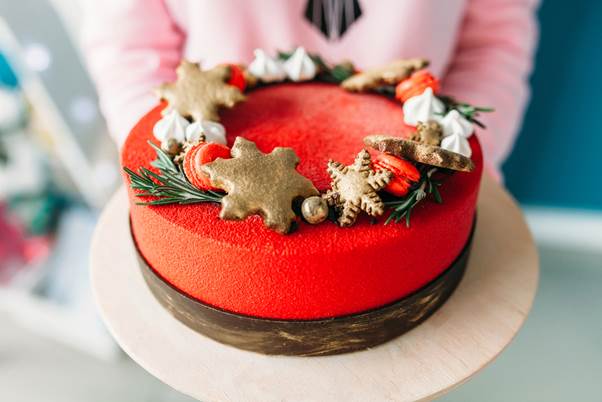
Custom Cake Ideas to Match Your Unique Style
Cakes are no longer just a sweet ending to a meal—they are the centerpiece of any celebration. Whether it’s a birthday, wedding, or special event, a well-designed cake can set the tone and bring y...
Read more
Party Cake Ideas to Impress Your Guests
Cakes are the heart of any party, and the right design can make your celebration unforgettable. Whether you’re hosting a kids' party, a milestone event, or a seasonal gathering, the cake you choos...
Read more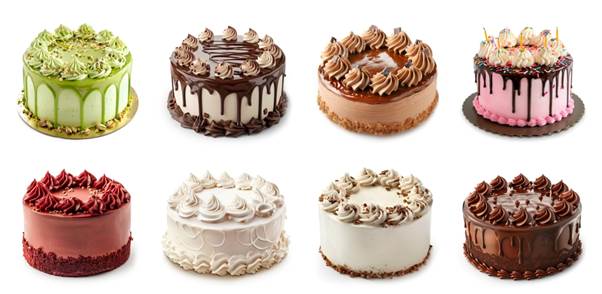
Cake Design Ideas to Turn Heads at Any Party
Introduction When it comes to celebrating life's milestones, few things steal the spotlight quite like a beautifully designed cake. Party cakes have become more than just a sweet treat; they are a...
Read more